👋 Hello, Friend! Let’s Tackle Your Organizing Food Storage areas Chaos Together!
Raise your hand if you’ve ever opened a pantry door and been greeted by a rogue can of beans rolling out, a half-opened cereal box spilling everywhere, or a mysterious jar of… something from 2018. 🙋♀️ Been there, too! As a busy mom and organization enthusiast, I’ve learned that a well-organized food storage area isn’t just about aesthetics—it’s about saving time, money, and your sanity. Let’s transform your kitchen chaos into a clutter-free haven with this fun, step-by-step guide!
Why Organizing Food Storage is a Game-Changer
Before we dive in, let’s get motivated! Here’s why this matters:
- Save Money: Stop buying duplicates because you can’t find the paprika.
- Reduce Waste: Say goodbye to expired mystery leftovers.
- Stress Less: Meal prep becomes a breeze when you can actually see what you have.
- Emergency Ready: A tidy pantry = peace of mind during storms or unexpected guests!
(Psst! For more on meal prep, check out my 10 genius meal prep hacks that pair perfectly with an organized pantry!)
Step 1: The Great Pantry Clean-Out 🧼
Time required: 1–2 hours (grab a latte and turn on a podcast!).
- Empty Everything
Yes, everything! Lay it all out on the counter or table. You’ll spot expired items, duplicates, and that unopened bag of quinoa you forgot about. - Sort Like a Pro
Create piles:- Keep: Unexpired staples you use regularly.
- Toss: Expired items, stale snacks, or anything with suspicious fuzz.
- Donate: Unopened non-perishables you won’t use (local food banks will love you!).
- Wipe & Refresh
Scrub shelves, line them with washable liners, and let the space air out.


Step 2: Choose the Right Containers (No, Not Just Any Jar!) 🫙
Pro Tip: Clear, airtight containers are your BFFs! They keep food fresh and let you see supplies at a glance.
- Best Materials:
- Glass jars (mason jars for grains, pasta).
- BPA-free plastic bins for bulk items.
- Lazy Susans for oils and spices.
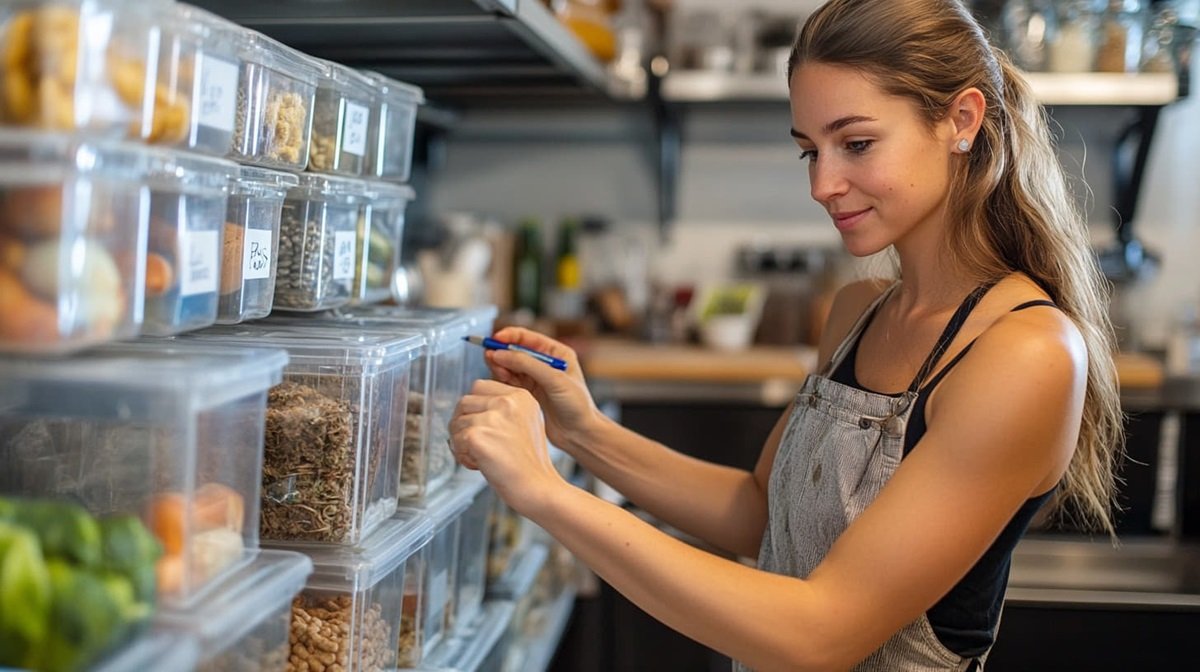
- Label Everything!
Use a label maker, chalkboard stickers, or washi tape + Sharpie. Trust me, “Mystery Powder” isn’t a good look.

(Need container recommendations? Here’s my favorite budget-friendly pantry solutions!)
Step 3: Zone Your Storage Like a Supermarket 🏷️
Group items by category so they’re easy to find:
- Breakfast Zone: Oatmeal, cereal, pancake mix.
- Baking Corner: Flour, sugar, chocolate chips.
- Canned Goods: Veggies, beans, soups (stack ’em high!).
- Snack Attack: Kids’ snacks at eye level (so they can grab themselves!).
Pro Hack: Place frequently used items at eye level and seasonal stuff (like holiday baking supplies) higher up.
Step 4: Maximize Space Like a Tetris Master 🧩
Small space? No problem! Try these tricks:
- Door Storage: Add over-the-door racks for spices, foil, or snack bags.
- Vertical Shelving: Use tiered shelves to double your space.
- Under-Shelf Baskets: Perfect for tea bags or seasoning packets.

👉 Organizing Food Storage Areas ideas
Step 5: Keep It Fresh with the FIFO Rule 🔄
First In, First Out! Always rotate older items to the front. This is crucial for:
- Canned goods
- Spices (they lose flavor over time!)
- Baking staples (flour can go rancid)
Fun Tip: Create a “Eat Me First” bin for soon-to-expire items.
Step 6: Maintenance is Key (No, Really!) 🔑
Spend 5 minutes weekly to:
- Wipe spills ASAP.
- Restock containers.
- Update your inventory list (keep it on the fridge!).
Common Mistakes to Avoid 🙅♀️
- Overbuying Containers: Measure your shelves first!
- Ignoring Vertical Space: Walls and doors are prime real estate.
- Forgetting Labels: Your future self will thank you.
FAQs: Your Burning Questions, Answered!
Q: How do I organize a deep pantry shelf?
A: Use slide-out baskets or a “library shelf” riser to see items in the back!
Q: What about pests in food storage?
A: Store grains/flour in airtight containers, and add bay leaves (a natural deterrent).
Q: How often should I declutter?
A: Every 3–6 months. Mark your calendar!
Final Thoughts: You’ve Got This! 💪
Imagine opening your pantry and feeling calm instead of overwhelmed. That’s the power of a little organization! Remember, progress > perfection. Start small, celebrate wins, and don’t forget to share your before-and-after pics with me on Instagram—I’d love to cheer you on!

P.S. Hungry for more? Check out these related reads:
Let’s Chat! What’s your biggest pantry struggle? Drop a comment below—I’m all ears! 💬