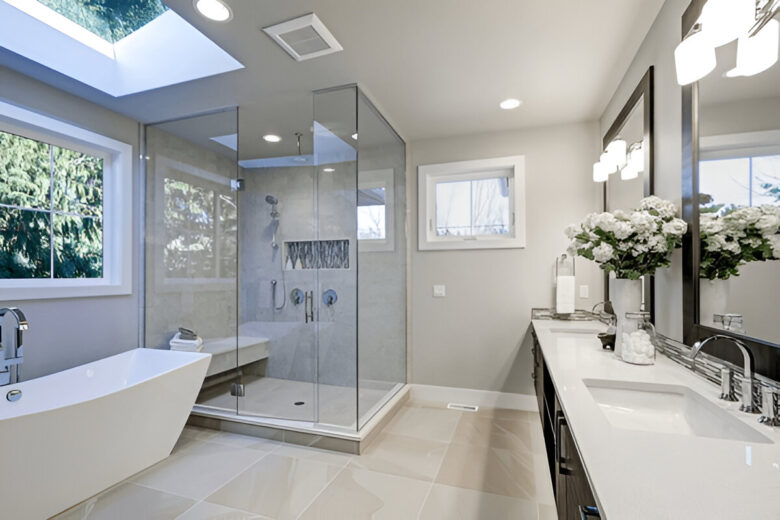
When it comes to building or renovating a bathroom, one of the most overlooked yet critical elements is shower screeding. This foundational process is essential to ensure proper water drainage, floor stability, and long-term durability in wet areas. Whether you’re a contractor, DIY enthusiast, or homeowner planning a bathroom upgrade, understanding shower screeding can save you from costly repairs and water damage down the line.
In this article, we’ll explain what shower screeding is, why it’s important, and how it’s done—along with tips for achieving the best results.
What is Shower Screeding?
Shower screeding is the process of creating a sloped base (usually from a cement-based screed mix) underneath the shower floor to guide water toward the drain. It’s an essential part of waterproofing and drainage in bathrooms, especially in walk-in showers or wet rooms.
The screed layer is typically installed on top of a concrete slab or a waterproof membrane, forming the foundation upon which tiles or other floor finishes are laid.
Why is Shower Screeding Important?
Failing to install a proper screed in your shower can lead to serious problems, including:
- Water pooling: Without the correct slope, water won’t drain properly, increasing the risk of mold, mildew, and slippery surfaces.
- Leakage: Improper screeding can compromise waterproofing membranes and lead to water seeping into subfloors and adjoining rooms.
- Cracking tiles: A poorly screeded floor can cause uneven surfaces, leading to tile movement and cracking over time.
- Long-term damage: Water intrusion can rot timber subfloors and weaken the bathroom’s structural integrity.
In short, shower screeding is not just a technical step—it’s essential to the long-term performance and safety of your bathroom.
Key Components of a Good Shower Screed
To ensure your shower screeding is effective, there are several elements to get right:
- Correct Slope
The industry standard recommends a minimum fall of 1:80 to 1:100, which means the screed should slope approximately 10–12mm per meter toward the drain. This ensures water flows efficiently and doesn’t pool in corners.
- Quality Screed Mix
A standard mix for shower screeding is a 4:1 or 3:1 ratio of sharp sand to cement. This creates a solid yet workable mixture that can be easily shaped and smoothed. Some contractors also use additives or proprietary screed compounds for faster drying or enhanced strength.
- Waterproofing Compatibility
The screed must be compatible with the underlying waterproof membrane. Depending on the system used, the screed may sit above or below the membrane. Always follow manufacturer guidelines to avoid voiding warranties or causing leaks.
Step-by-Step Guide to Shower Screeding
If you’re considering doing it yourself or just want to understand the process, here’s a step-by-step overview of how shower screeding is typically done:
Step 1: Prepare the Substrate
Ensure the concrete base is clean, dry, and free of debris. Apply a primer if required to improve adhesion between the screed and the base.
Step 2: Mark the Levels
Use a laser level or spirit level to mark the high points around the shower perimeter and the low point at the drain. Remember to account for the correct slope.
Step 3: Mix the Screed
Combine sharp sand and cement in a wheelbarrow or mixer at the correct ratio (usually 4:1). Gradually add water until the mixture is damp but not runny. It should hold its shape when squeezed.
Step 4: Lay the Screed
Start at the outer edge of the shower base and work your way inward toward the drain. Use a screeding bar or straight edge to shape the slope. Compact the screed well to avoid voids and weak spots.
Step 5: Smooth and Finish
Once the screed is laid, use a float to smooth the surface. Avoid over-troweling, as it can weaken the surface layer. Let the screed cure for at least 24–48 hours before walking on it or applying further layers.
Common Mistakes to Avoid
Here are some common shower screeding errors and how to avoid them:
- Incorrect slope: Always measure and double-check the fall before starting.
- Poor mixing: A weak screed mix can crumble or crack. Stick to the correct ratios.
- Skipping waterproofing: Never apply screed directly to timber or porous materials without proper waterproofing.
- Rushing the curing process: Allow the screed to fully cure before tiling. Depending on the thickness, this can take 7–28 days.
Can You DIY Shower Screeding?
While it’s possible for experienced DIYers to screed a shower base, it requires a good understanding of slope gradients, screed mixes, and waterproofing systems. If done incorrectly, it can lead to expensive water damage.
If you’re unsure, it’s best to hire a professional who specializes in shower screeding and wet room installations.
When to Use Pre-Formed Shower Bases
For those looking to skip the complexities of screeding, pre-formed shower trays or bases are an alternative. These products come with built-in slopes and integrated drains, offering a faster and more consistent solution. However, they may not offer the same flexibility in design or layout as custom screeding.
Conclusion
Shower screeding is a fundamental aspect of any successful bathroom renovation or installation. It ensures your shower drains properly, stays waterproof, and provides a stable base for tiles. Whether you hire a professional or tackle it yourself, taking the time to understand and execute proper screeding can save you from long-term headaches and repairs.
From ensuring the right slope to choosing the correct mix, every detail matters. With the right knowledge and preparation, your shower floor can be both functional and long-lasting.

Leave a Reply