Paint a tree-lined stream with watercolors. Today we continue our journey with the lessons dedicated to the watercolor technique. In today’s lesson, we will practice the sponge technique and apply it to a subject that you will surely like. This technique is, in fact, very versatile and can use with different methods and colors that will allow you to create original textures. For example, if you learn, in the current model, we painted a table depicting a sunset, and I hope you have already made your first table: today, we will proceed similarly, and we will guide you step by step in making your painting.
How do you do the sponge effect with watercolors?
The Sponge effect is ideal for creating original textures for your paintings. The sponge can also use to introduce lively and sophisticated motifs into your composition. Different types of sponges can be cataloged by shape and use. In addition, they can be divided between natural and synthetic sponges. The former is characterized by a honeycomb structure and creates unpredictable mottled patterns. Others are more compact and produce more delicate textures with which more spontaneous effects can obtain.
Synthetic sponges, on the other hand, create more uniform textures

The success of this technique depends on the amount of color absorbed by the sponge and how you will apply the paint on the sheet. This technique is widespread and is used with different types of stains. In today’s case, we will apply this technique using a tube of watercolor paint from Winsor and Newton. First, dilute the color with water according to the consistency you want. For example, if you want the effect to be more nuanced, use a more diluted paint, vice versa if you want the result to be a more intense and brilliant color and lotus flower drawing.
If the sponge is excessively soaked, you can run the risk of spilling too much color on the sheet. Therefore, before proceeding directly on the sheet, it is advisable to dab the sponge soaked in color on a piece of paper to eliminate excess dye and check if the result is what you want.
The mixed synthetic spongy texture
It mixed synthetic sponge. Or a sponge that has a relatively regular and dense texture. Dilute the Cerulean Blue with water, mix the color well and immerse part of the sponge in it. Once the sponge has absorbed enough color, dab the sheet in a circular direction. With the motif obtained, you can liven up many of your tables!
Natural Sponge Texture
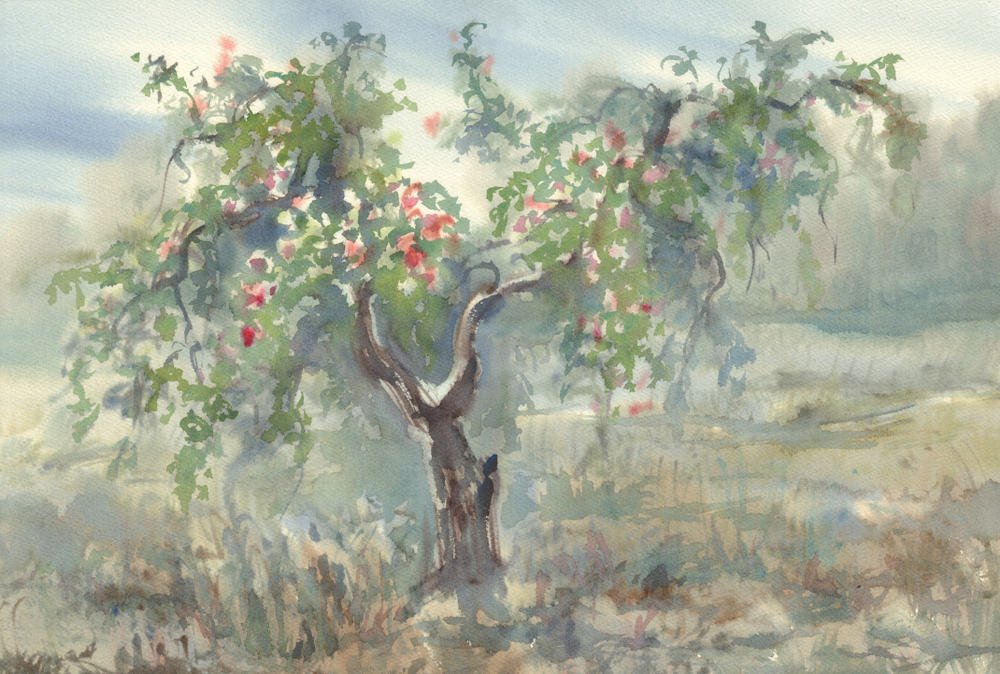
The honeycomb texture characterizes this sponge. Dilute the red color with water and proceed by dipping the sponge into it. Dab the sheet several times, repeating the operation until you cover a larger area. This technique allows you to obtain discontinuous patterns, ideal for creating realistic textures such as tree foliage.
Synthetic Sponge Texture
With this sponge, it is possible to obtain regular and compact patterns. Dilute the Ultramarine Blue color and dip the sponge in the paint, then dab on your sheet. A synthetic sponge can easy to cut with scissors into the shape you want. Furthermore, the textures created with the overlaid color are exciting. Start with the softest color and overlap the darkest ones. In this way, you will get an original play of colors.
The preparatory drawing in pencil
Today’s preparatory drawing involves creating a landscape consisting of a stream that will occupy the first floor and trees defined by a light pencil stroke. First, divide the sheet into two horizontal bands so that the top of the sheet is a few centimeters more comprehensive than the bottom band. Using a ruler or freehand, draw a horizontal pencil line. In the upper band, as in the photo, draw the trunks of the trees and outline the part of the foliage that surrounds them. The lower section of the composition depicts the stream: define the stones of different sizes near the horizon line with a light stroke to delineate the banks of the river and part of the cliff.
Let’s get the blue sky ready!
In this first phase, we proceed with the wet color on dry paper. Prepare a mixture of Cerulean Blue diluted with water, make sure that the color is not excessively diluted and with the brush begin to paint the sky by slightly blending the color with the meeting also paint the area intended for the foliage of the trees by making the first base of color, on which we will subsequently work by color layering.
The stones of the stream
Dilute some natural umber on a palette. Paint the stones: the rear ones must be slightly darker to bring out the rocks in the foreground, which will be lighter. Spread the color paying attention to the corners and irregular shapes of the stones, creating shaded edges.
The shades at the bottom of the river
Now make a veiled shade with Natural Shadow Earth to define the most profound areas on the river bed. Dilute the color with water and apply with the brush a band horizontally about one centimeter wide. Now paint some light shades also around the base of the stones.
The foliage of the trees
At this point of the work, we move on to define the base of the tree crowns. Mix the Veronese Green and Cadmium Yellow with the right amount of water to obtain a light and bright Grass Green tone. Once the color has been diluted on a palette, spread light glazes with the brush inside the area outlined in pencil, making the color flow.
The secret to obtaining a uniform mixture between colors is to dose the suitable component of water and color that will allow you to create original color games. In this case, pay attention to the water dosage; otherwise, there is a risk that the base of the sheet embeds excess liquids. Before proceeding directly to the sheet, get a slip of paper to simulate a mixed color test.
Also Read: KEY FIGURES OF THE DRAWING